Friday, March 15, 2019

Group meeting part 2!!

Hey guys, it's finally Fridayyyy and I'm so happy! Today in class we had another group meeting and I can't stress how much these meet ups helps. It not only helps me figure out any of the problems, but it also allows me to see what other people have to say about our scenes and story.

Image result for teamwork

The first things the group told me was that our story line was good and that they liked how it started with a flashback. Then, they gave me some ideas and hints, these included:
  • Props
  • Lighting
  • Second scene (in room)

Props- I started off by explaining the types of props that we were gonna need, these are fake blood and headstones. Then I explained how we were in between making the blood or buying it, which they responded that it all depended on how the fake blood turned out. They said that they prefer that I make it because I can still manipulate and make it into my vision. This was extremely helpful because it made me realize that by making our products, we have the power to change them how we want. Lastly, I told them about the headstones and how we were planning on making them with cardboard, but after today's meeting I'm happy to say that we are now making them out of styrofoam. This idea that they gave me was EXTREMELY helpful because with the styrofoam we can give the headstones more texture as well.
Related imageImage result for styrofoam


Lighting- This meeting game me many different idea on what to do with the lighting. One member said that I could just edit the lighting while taking the picture through the Iphone camera roll. Another member gave the idea that instead of relying on the weather and natural lighting, we can use blankets and lights because the shots are gonna be close and focused on the headstones. I really liked both these ideas and I'm going to have to try it out over the weekend and see which one I like best.

Room Scene- I explained that we were still figuring out ways to show how he is psychopathic and one of the group members said that I should research some common characteristics of them. Not only that, but they also said that when the drawings on the walls are shown, it should be weird pictures related to death. For example, they said that it should include pictures of knives, blood, and even dead people (family). Lastly, they loved the idea how the title and symbols shown at beginning will relate to the seen by the same symbol being on a paper that the mom picks up. They also told me to look into the movies The Silence of the Lambs and Red Dragon because they follow similar characteristics.
Image result for silence of the lambsImage result for red dragon movie


All in all, I plan on implementing all these ideas into the film or at least try to take them into consideration. Also, these meetings gave me some ideas like the use of a website called Animaker to create a production company and make the opening look professional. That's it for today guys and I'll see you later!


Sources:
Animaker, Make Animated Videos on Cloud for free. (n.d.). Retrieved from https://www.animaker.com/

Thursday, March 14, 2019

Minor issue...

Hey guys, I know it's been a while since I posted, but the group and I have been planning out some of our problems and holes. Some of these included

  • Lighting
  • Scenes
  • Main characters
  • Name of the movie
Today, in this blog post, I'll be talking about an issue that we came across with our cemetery scene and how we plan on fixing it.


If you look at the post I did on March 8th, you guys will see how we decided on the setting and that it will take place in Markham park in a low key lit scene. This isn't changing in our project, the change comes with what's going on the scene. Originally, we were gonna make the scene look like a real cemetery, but we realized that we would have had to keep the shots to close and we didn't have the objects to make it happen. Therefore, the group and I decided to change it into a closed cemetery, on the families property. Due to this I made a new beginning and here is the storyboard that we will use for the first part (cemetery):


As you guys can see, the scene will now be a family cemetery in the back of a their ranch, which is the house of the family that died. The first 3 frames are there to establish the location and show the audience where the cemetery and story will take place. Then the next frames brings up the headstones and goes through each one of them to show the names of those who died. The rest of the scene will consist of flashy shots (resembling police lights) and there will be rapid cuts showing a headstone and the person who died (Will show a symbol on their forehead and all dead people shown will have the same symbol). This will repeat with each headstone and towards the end it will speed up the cuts and turn black. At this moment we will show the title.

At this point we are also considering adding either a message saying "A few months earlier" and then the story progresses, showing that there was a time to change. On the other hand, we are also thinking about including the dates on the headstones saying the day of the deaths and when the next scene begins we will show a calendar showing the month and date that is happening at the time. We are still thinking on what to do but as soon as we figure it out I'll post a blog on, So stay tuned on my upcoming blog. 


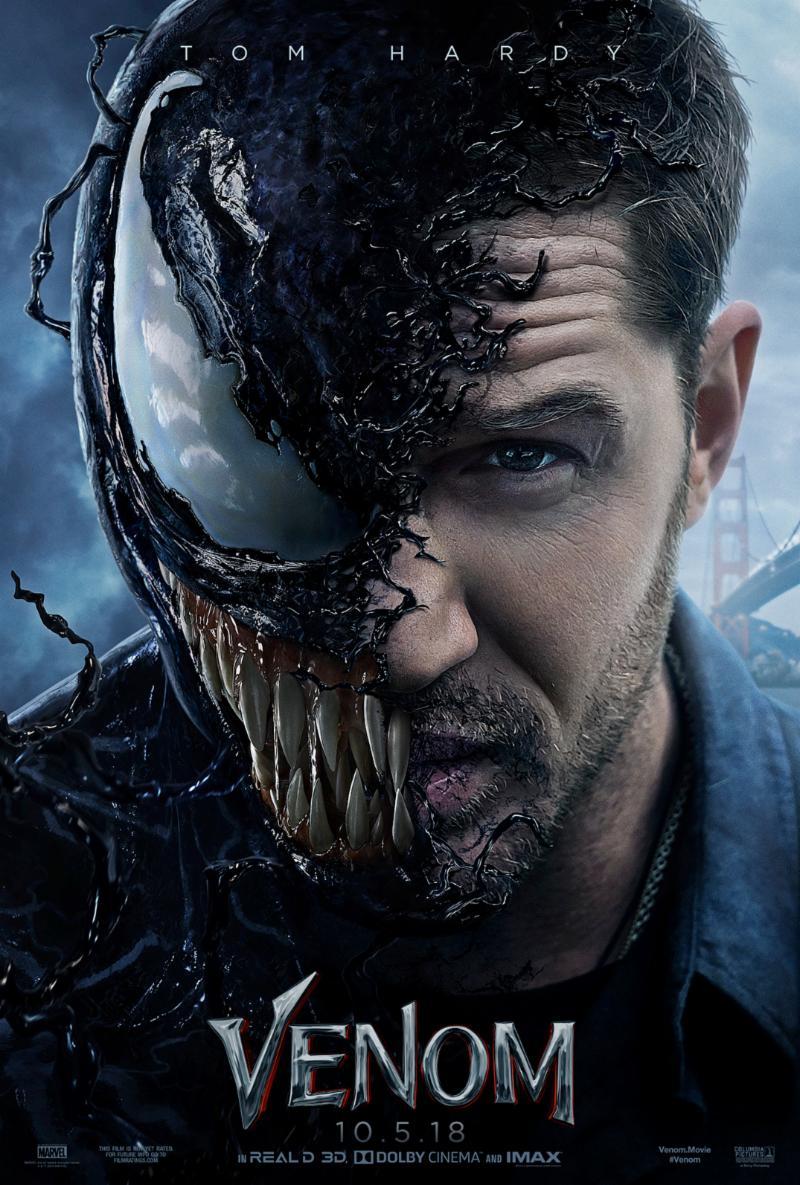
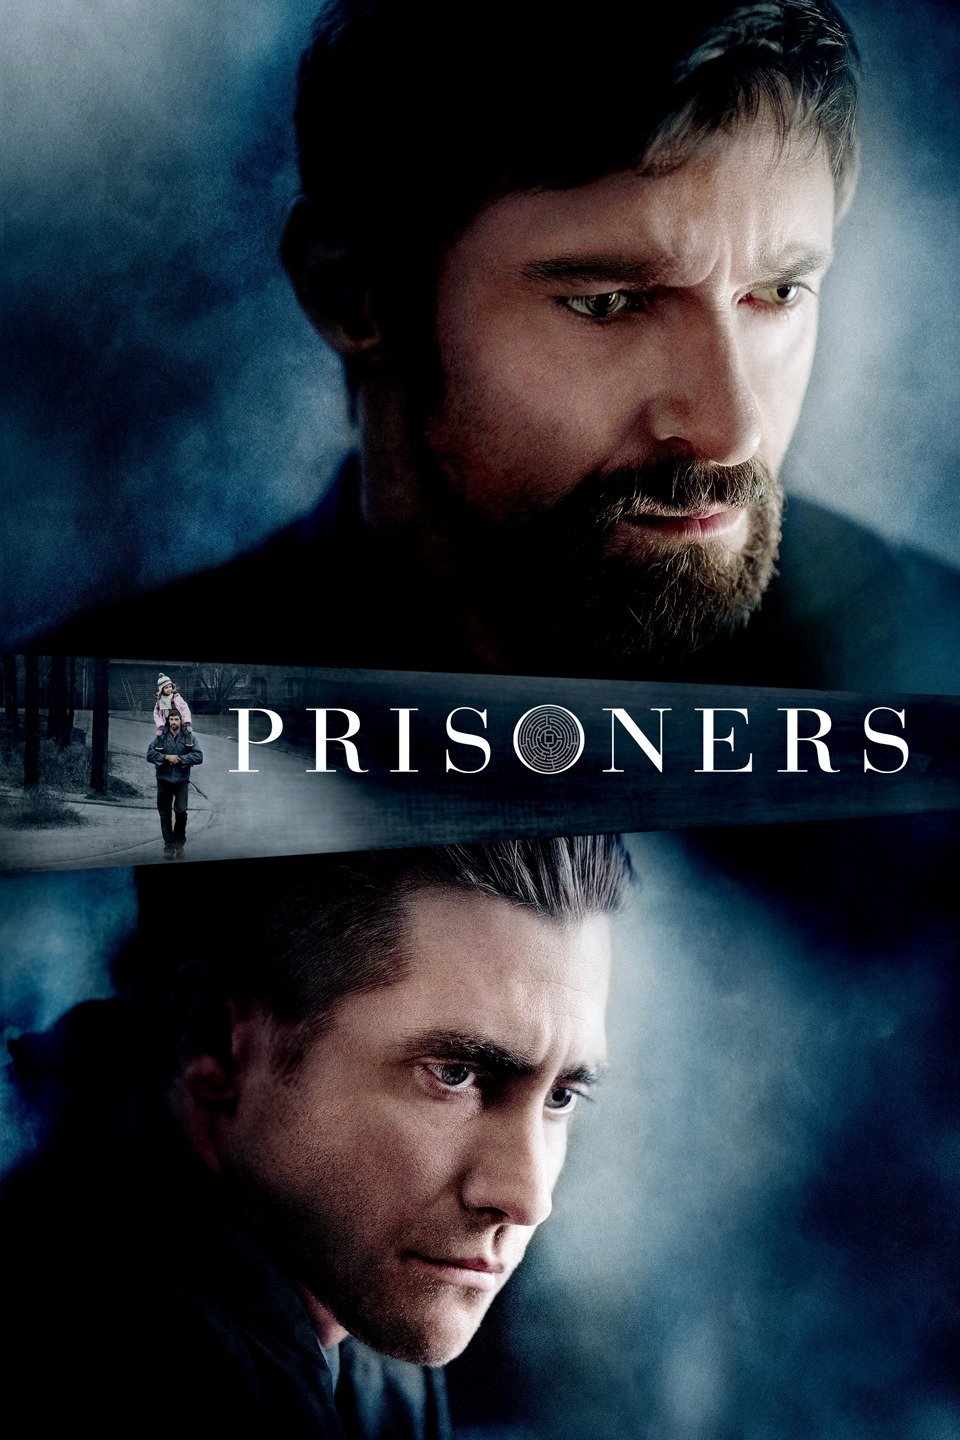
Lastly, I wanted to mention that we are also on the task of figuring out a title of the movie and we have some ideas in mind, but we still need to work on the fonts and resemblance that it will have to the story. But, we are getting our ideas based off of these titles from other well known thrillers, so ours might look a bit like theirs. Here are the thrillers:
Related image Image result for PrisonersImage result for Murder 2004

The reason as to why we are basing our title on this is because they all include specific characters that relate to the movie. For example, Prisoners has the "O" as a symbol, this is exactly what we want to do with our title, but instead something that relates to the film and is important to it.

That's it for today guys, have a great day and stay tuned!

Sunday, March 10, 2019

Fonts???

Recently in our last class the group and I started discussing on what type of fonts we would use to show the credits and the title of the movie. So, I started researching and deciding which fonts would fit the theme the best. During my research I came across an article (click here for more) that explained the font process really well, in fact, this is a quote that really stood out to me

"A nice attractive font can make an entire difference on a film, bringing it from an amateur level to professional."

This shows that the type of font used in a film can make or break it, therefor people must take this step seriously and choose a font that grabs a viewers attention, but at the same time is simple.


Here are some of the fonts that I have in mind:


Credits
EB Garamond

Credits

Courier New


Credits
Merriweather


Credits
Oswald

I chose these fonts because they are not only easy to read, but they also can do a good job bringing a thriller vibe to the film depending on how it is placed in the opening. Right now I am leaning towards the second font, but this takes time and discussion from all the group members because as said in the quote a font can bring a film from an "amateur level to professional".

I know this is a short post guys, but stay tuned for my next post where we will be making the props and showing pictures of how they turned out!


Sources:
Typography And Titles in Film. (2014, April 16). Retrieved from https://filmshortage.com/typography-and-titles-in-film/

Saturday, March 9, 2019

Revising 👀!!

Well this week has been a very stressful week for me due to SAT and all the tests I had, but the group and I were able to make some revisions to our storyboard based on our meetings and ideas. Remember our ideas and scenes are always prone to changes, so if you guys have any suggestions just leave a comment and i'll be sure to look at it.

Here are pictures of our revised storyboard:


As you guys can see during this scene we decided to be more specific with some of the shots, such as:
- Cemetery scene will be shot at Markham park
- The names will be shown (headstones)
- The transition used will be flashy (black to          white or other way around)
- This is a FLASHBACK (beginning of movie is the end)


On this page, we just added more detail to the scenes, for example:
- The clock sound will be made through Foley to enhance the sound
- The close up of the water faucet will be made through Foley as well
- When the knob shakes we will here it as well
- The red arrows show that all those shots will be cuts (no transitions)                                                                                                                             
This last page included some scenes that we added a little more detail too, such as:
- We added a square around the paper to show where to zoom
- We added emotion/ action to show frustration
- We showed a possible symbol that might be shown (still deciding)


One of the aspects that we are looking on improving next is too make dialogue for the scenes, although we are planning on having a silent movie to reinforce the fact of thriller vibe, there will be some dialogue.


I was reading an article (click here to learn more about it) based on the creation of storyboards and this quote really stood out to me and thought that I should tell you guys because it is exactly what we are trying to do

"But remember, a long journey begins with a single step, so begin by breaking the screenplay down into small steps, or shots."

I decided to show this because it shows how this is all a process and it has to be broken down step by step. This is why we first made the storyboard, now we revised it and made it with more detail, and then the next time we will add more information because the storyboard is the film and if done correctly will determine the outcome of it.


Sources:
Storyboarding Your Film. (n.d.). Retrieved from https://www.dummies.com/art-center/performing-arts/filmmaking/storyboarding-your-film/


Friday, March 8, 2019

Eyes on the prize (location scouting)

Welcome back to the blog guys! The group and I have finally started scouting the location for our first scene in the opening, which is the "cemetery" scene. One of the group members went out and took pictures of some areas that are located in Markham Park that we might use.

Here are some pictures that we retrieved:


Out of these pictures the Location that we believe will fit the tone of the scene the best is the figure on the top left, as well as the two pictures on the bottom. These are the ones that we decided to go with because they are open enough to seem like a cemetery and the lighting will be easy to deal with, as you can see we can make the picture darker by going at different times of the day. This isn't 100% confirmed yet, but it is most likely where we will be shooting the graveyard scene. This isn't all though, we are also thinking about this spot because we are able to add the headstones, flowers, and props onto the land easily, and it would look like it belongs there because of the grass.
Image result for location scouting

Stay tuned because in my next blog i'll be talking about the changes that the group and I have done to the storyboard and the type of dialogue that we might include as well. Have a great days!

Thursday, March 7, 2019

All hands on deck

Hey guys! I am so happy to be announcing that we finally started working on the props for our production. I've mentioned this on one of my last posts but briefly, so i'll be going into depth as to why we need the props that we will make and how we will make them.
These props include:
- Blood
- Gravestones


Blood
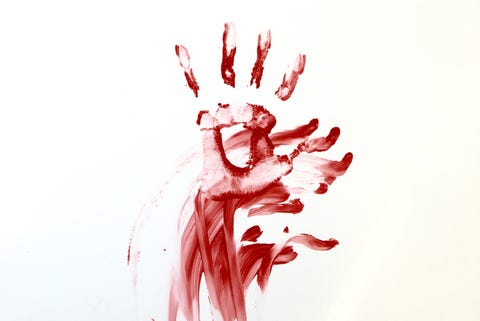
imageThis is a very important element in our film opening because it will help establish the thriller vibe that we need. We have looked through many different recipes to try figuring out which blood we would like to use and we chose one that we found on an article by Good Housekeeping. We chose the oxygen depleted blood because we plan on using in a scene where the blood would be dry and darker red.
Recipe:
- 2/3 cup of chocolate syrup
- 1/3 cup of Tide detergent
- 4-6 cups of red food coloring


Gravestones
As one of our first props that will be used, this has to be perfect and draw the viewers attention. Therefore, we put a lot of time and research into developing this prop. Not only did we want it to look like a real gravestone, but we also wanted to include the names of the characters that died on them. We are still deciding on whether to buy a gravestone or make it, for now we are leaning towards us making it because we need to include the peoples names and make it look realistic (texture). 
Here is a video on how we are planning on making them:


Sounds:
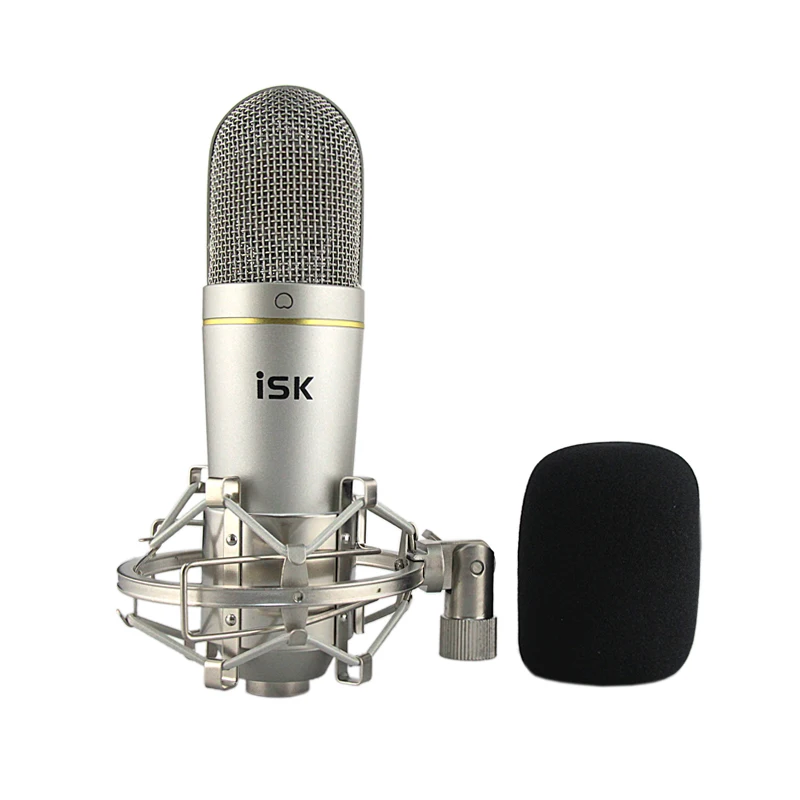
This is another important element that the group and I started looking into. In this blog i'll be showing the two main sounds that we will be making through Foley. In order to make these we will be using a microphone to really capture the sounds in detail.

- Clock ticking/ pencil tapping
  • To make this sound standout and create a sense of thrill, we decided to create the sound the same way as the pencil tapping on  a desk (later scene in the opening). Therefore, to make this all we will do is put a microphone close to the pencil tapping on the desk and follow the tick of the clock so the timing is on point. 
- Door slamming
  • We decided to create an emphasis with this sound because it helps convey the message that the kid is frustrated for having to go. During this scene the mom walks into the room and takes away the pencil, by getting frustrated at this it shows how he is somewhat of a psychopath. As you guys also know later on we reinforce this message by showing the pictures and symbol on the walls. The Foley will be made with the same microphone and books falling on the floor. We haven't decided yet whether to make it with an actual door or with the books, but it's an idea.
Image result for foley microphone


Just in case you guys wanted to see a little bit more on Foley sounds and how they are created, I found this video on Vimeo that was extremely useful for the group and I. Please watch the video because it demonstrates how we want to use Foley in our film opening, with the timing and emphasis of the sound like the guy demonstrated.


Sources:

Vigoreaux, G. (2018, November 05). How to Make Fake Blood for Halloween. Retrieved from https://www.goodhousekeeping.com/holidays/halloween-ideas/how-to/a35075/how-to-make-fake-blood/

EHow. (2017, July 17). How to Make Cardboard Tombstones. Retrieved from https://www.youtube.com/watch?v=VUYWzxHRUyo

The Foley Artist. (2019, March 07). Retrieved from https://vimeo.com/124053378

Sunday, March 3, 2019

Getting everything together (storyboard/ shooting schedule)

Hey guys, I am so excited to show you the storyboard that the group and I created. Now I have to say it isn't the best drawing ever, but it gets the point across for us to visually see the scenes. Many people choose to do storyboards online or with index cards, but the group and I decided to make it on a template that our teacher provided because it was organized and had space for comments as well. If you guys would like to use it some day here is  link to the worksheet.

This isn't completely set in stone, there are still some changes that might occur. So keep in mind that in the future we might have to upload another post on our "final" storyboard.


As you guys can see there are some question marks in areas that we need to still plan out and as soon as we figure out those details we'll post about. This was a very important step in creating our film opening because it makes time management extremely efficient and allows the group to be on the same page. As said by Vyond Team in an article

"While it may take you a little while to put your storyboard together, in the long run it will save you time in revisions later.
Not only will it help you explain your vision to your team, but it will also make the creation process go more smoothly."
This quote, that I retrieved from a website, shows the reason as to why story boarding is an effective way to plan and set up a film. Not only does it help a team get organized, but it also allows for feedback to occur through the process, which will all in all make the project better.

Shooting Schedule:


These are the days that we plan to shoot the film, but this might always change and will constantly be updated. For now we will try following this schedule and as you can see we start filming on 3/ 20/ 19 because first we have to get all the props and locations done.

Be aware of more upcoming posts because we are just starting to get into the fun stuff!


sources:
Team, V. (n.d.). What Is A Storyboard And Why Do You Need One? | Vyond. Retrieved from https://www.vyond.com/resources/what-is-a-storyboard-and-why-do-you-need-one/